Building a DIY CNC router
As my projects become more and more complex and my passion for bespoke crafting swells, I’ve reached the limits of hand-accuracy. I have to turn to mechanics and electronics to help me reach the upper echelons of makerism and while I diddle-daddle my way around deciding which type of 3D printer will suit me best , I decided to diddle my way around building something more familiar – a CNC Machining table, or CNC machine as its more popularly known. Of course, being the broke-ass maker type that I am, I’m going to try building this thing as cheaply as possible and see where we go from there.
Getting Started
Since I dont have a wide array of tooling at the moment, I decided to build a proof-of-concept out of cheap MDF wood. The hardware store sells them in sheets so I bought one and had them cut it down to smaller pieces which they did for a nominal extra charge. While I was there, I also grabbed some woodworking spade bits in the sizes I needed, 8 mm, 10 mm, 12 mm, 14 mm and 16 mm as well as some fresh blades for the jigsaw. Other parts like the 10 mm stainless rails were found locally at DIY Electronics while the remaining parts like the 8mm stainless lead screws, brass lead nuts and an assortment of linear bearings of varying size were ordered in batches from Banggood.com which keeps a host of electronics and mechanical parts. I’m not following any plans so allowing myself some room for experimentation.
Electronics and Control
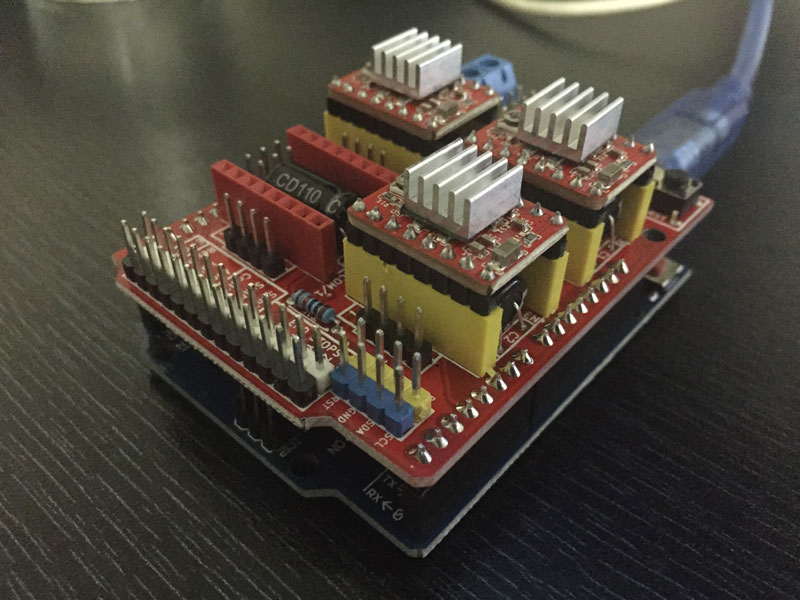
The electronics and controller side of this build was pretty daunting. I had to do some intense research with hours spent trawling Youtube and DIY forums. I collected and arranged the information I found most logical and that fitted into this puzzle with no effort. I landed at the system being powered physically by Nema 23 stepper motors – the bigger brothers of the Nema 17 which are commonly found in 3D printers. The Nema 23s were chosen for their higher output and holding torque. The brains of the operation is an Arduino Uno running open-source GRBL firmware. To further simplify the operation, I chose the Protoneer CNC shield which handles the power, Drivers and communication with the Arduino Uno in a neat little package.
Motors and drivers
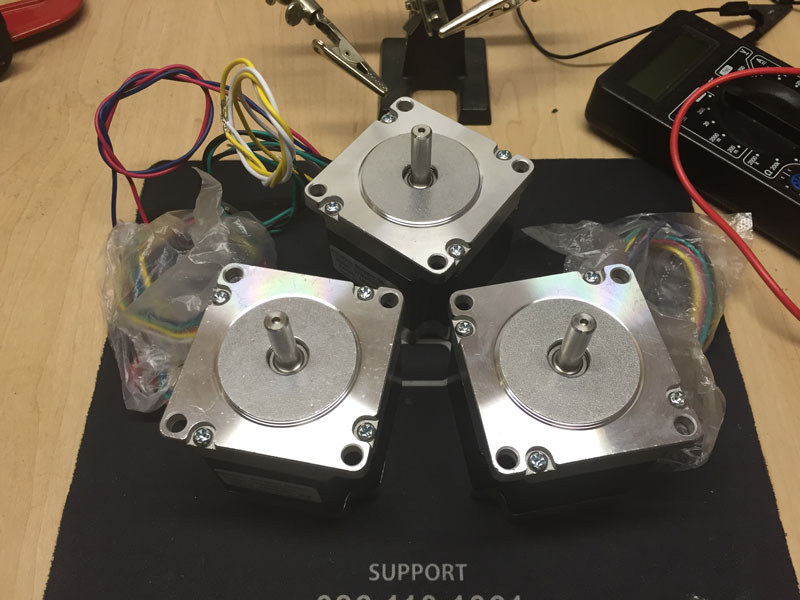
The motors are Nema 23 stepper motors and I grabbed 3. We’re gonna need one for every axis – X, Y and Z. Unlike regular DC motors which have two terminals, these bipolar steppers have two sets of coils with four terminals and require a special driver to operate. Our Protoneer shield supports a variety of drivers but we went with the Pololu A498 drivers, one for each axis. The fourth axis will be spare for now, but could drive a rotary fourth axis at a later stage.
While the rest of the parts make their way over from china I’m gonna get going on eyeballing a frame together and hopefully they’ll arrive just in time to be installed. I went a little crazy but I got some cool stuff like cable chains and an emergency stop switch. Also en route are a bunch of microswitches for the end stops, ribbon cable and I decided to stock up on some heat shrink while I was at it. I’d have to bounce around the local hardware stores to find anything I overlooked or didn’t find on Banggood. The story continues in related stories below…