Upgrading my printer’s power supply
The Anycubic Kossel mini comes with a piddly 100w power brick which just isnt gonna cut it with the new 12v heater bed that’s on its way to me. I headed down to my local china mall and grabbed a cheap 350w 12v power supply to power the bed. In this blog, I’ll show you how I designed a mount and a few other bits and wired up the power supply to power the entire printer so we can ditch the stock power brick. The first challenge is mounting the supply to the frame. I battled to find anything compact enough to print on my printer, and this upgrade actually addresses that very issue – the heatbed is meant to eliminate the warping issues I’ve been experiencing on larger prints. I set to designing a simple mount and you can find it here on Thingiverse.
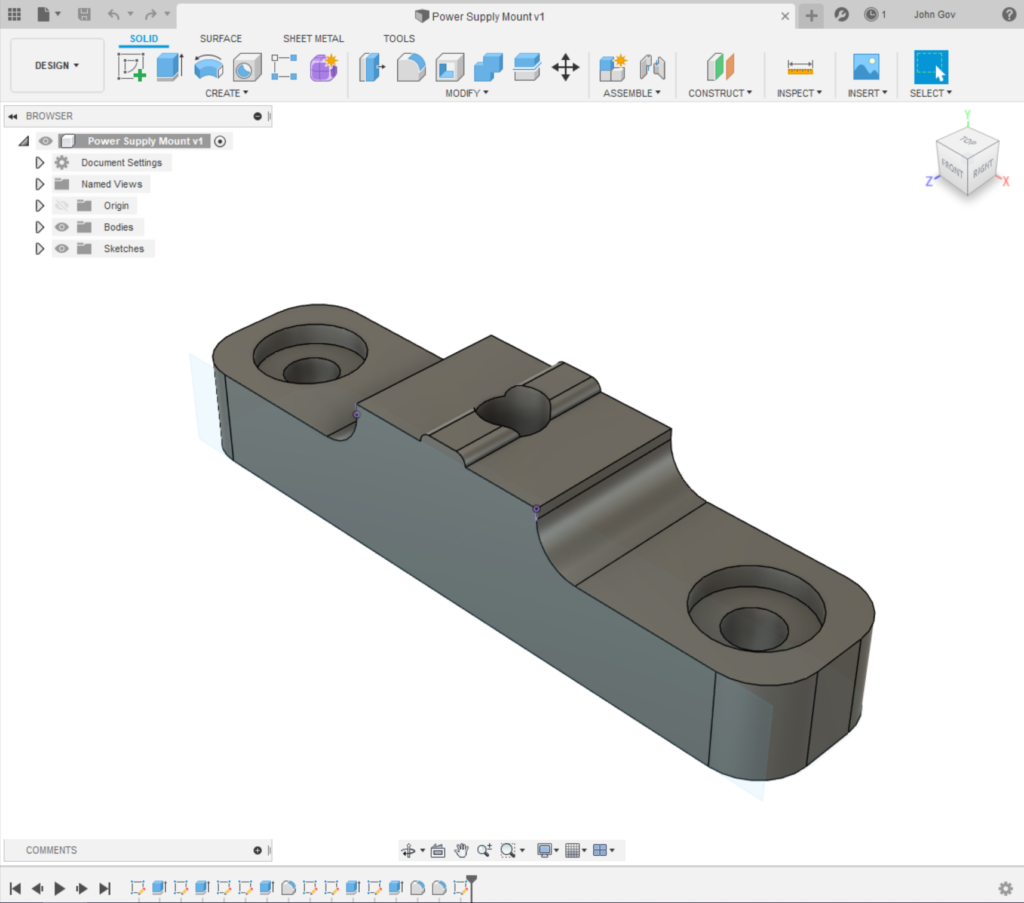
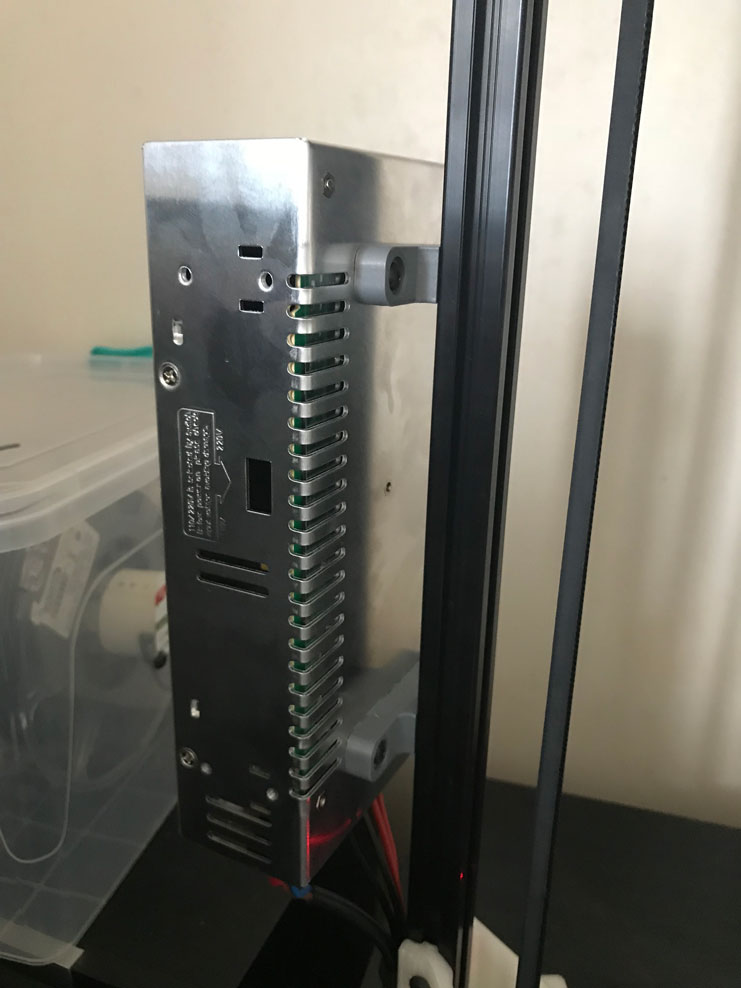
I printed the pieces in grey PLA+ and they were done in no time. Since these will be weigh bearing components, I printed them with 80% infill and 5 perimeters. A sacrificial test piece took an immense amount of torque to break and held up well in the vice test. Satisfied that they will hold, I installed the power supply with four M5x16 machine screws and T-nuts on the frame side.
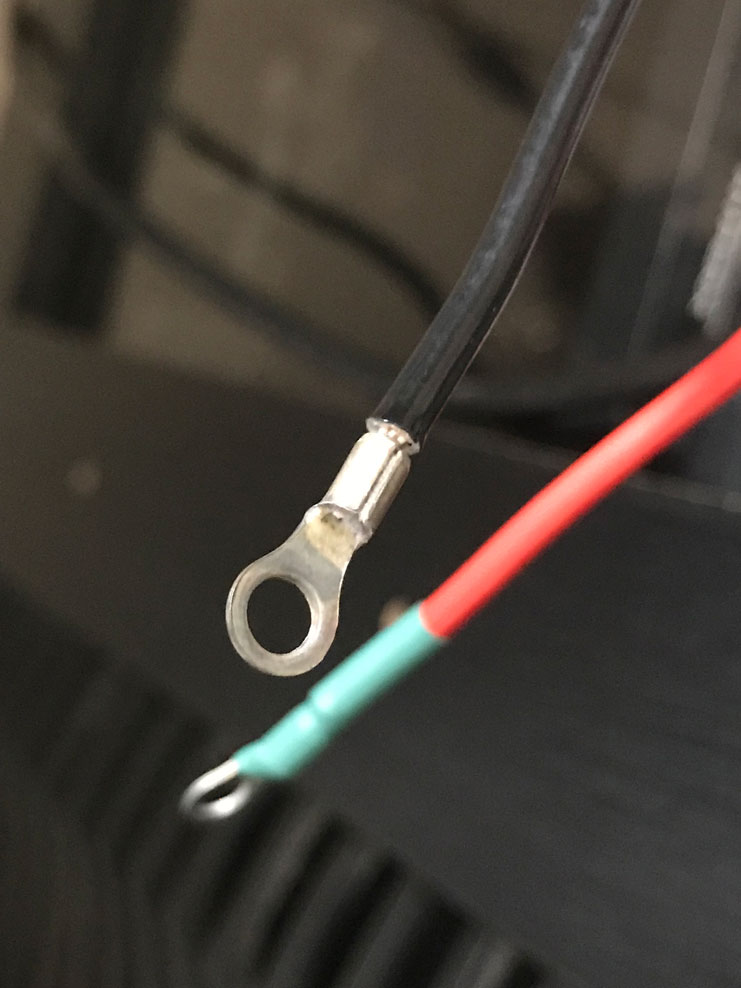
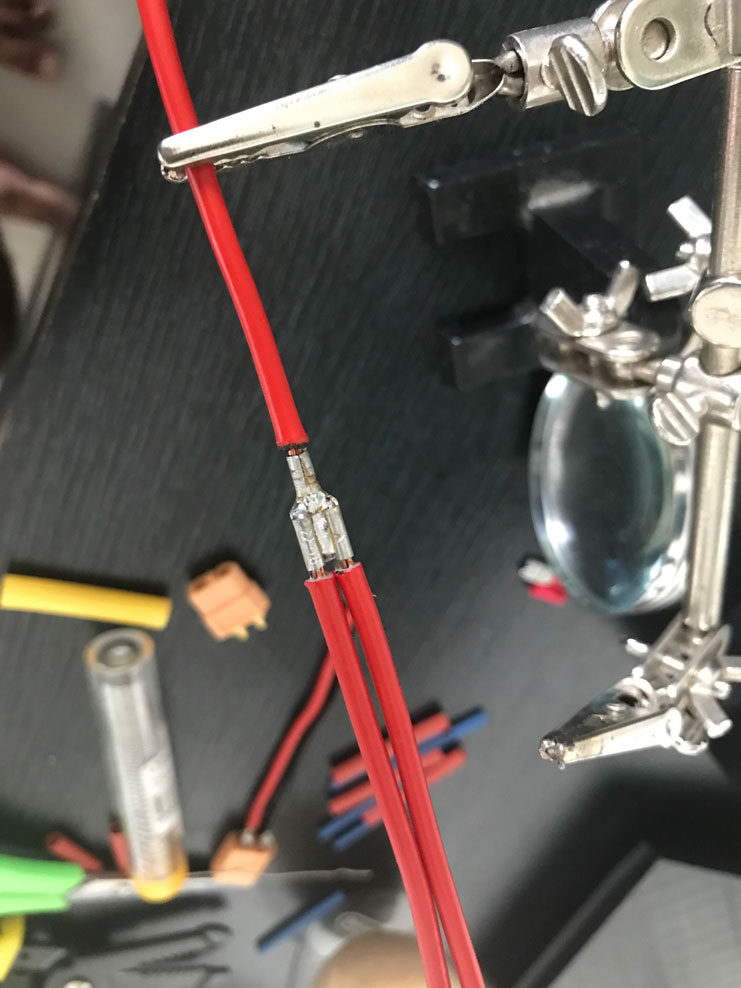
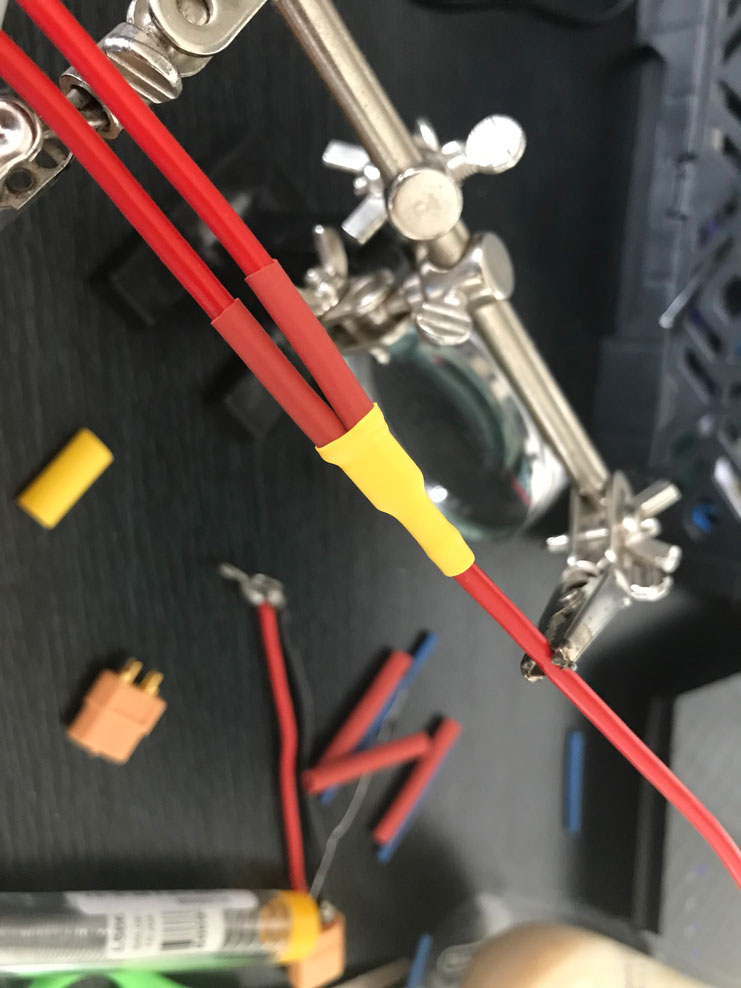
Next, I soldered some terminal ends on the main supply leads and isolated the problem areas with heat shrink. I also repurposed spade terminal as a very effective line splitter. This little junction will split the output feed so I can add a switch inline to the main board supply a little later.
With all the lines terminated and the supply mounted to the frame, I begin installing the supply leads on the power supply terminals, paying special attention to the polarity. I now have three +12v supply lines which will feed my board, my heatbed mosfet and my 12v auxiliary rail.
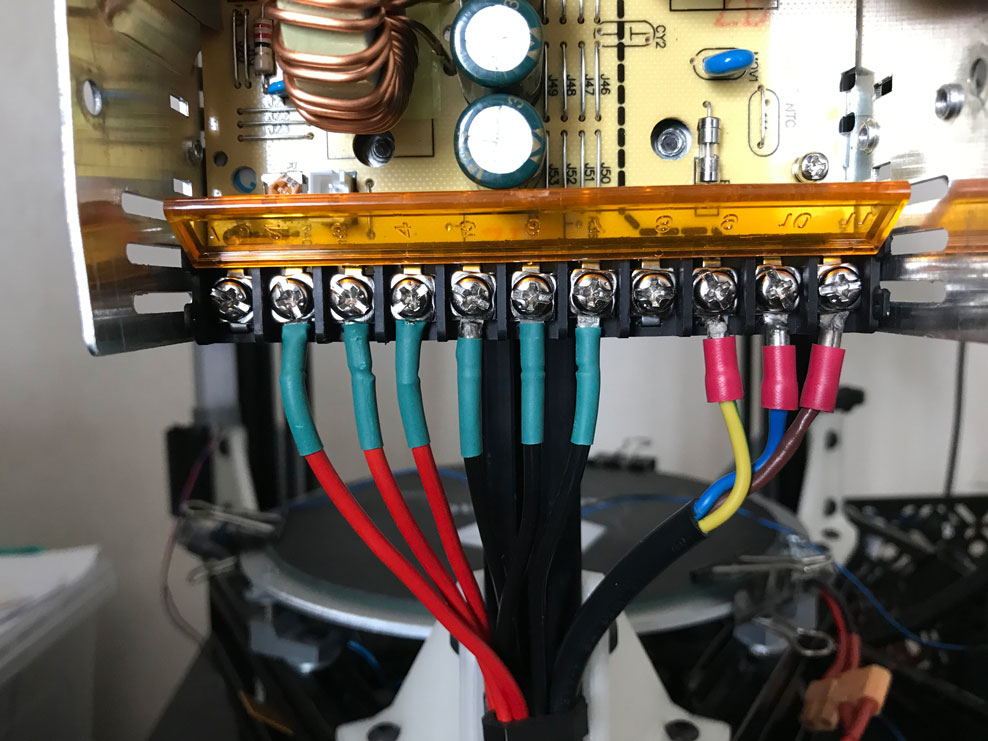
The exposed connections make me a little nervous with a toddler in the house so I hooked up the heater bed and flipped the jumper on the mainboard to use power from the +12 terminal block instead of the 12v jack before printing a cover I found on on Thingiverse that incorporates a fused plug connection and covers up the terminals nicely.
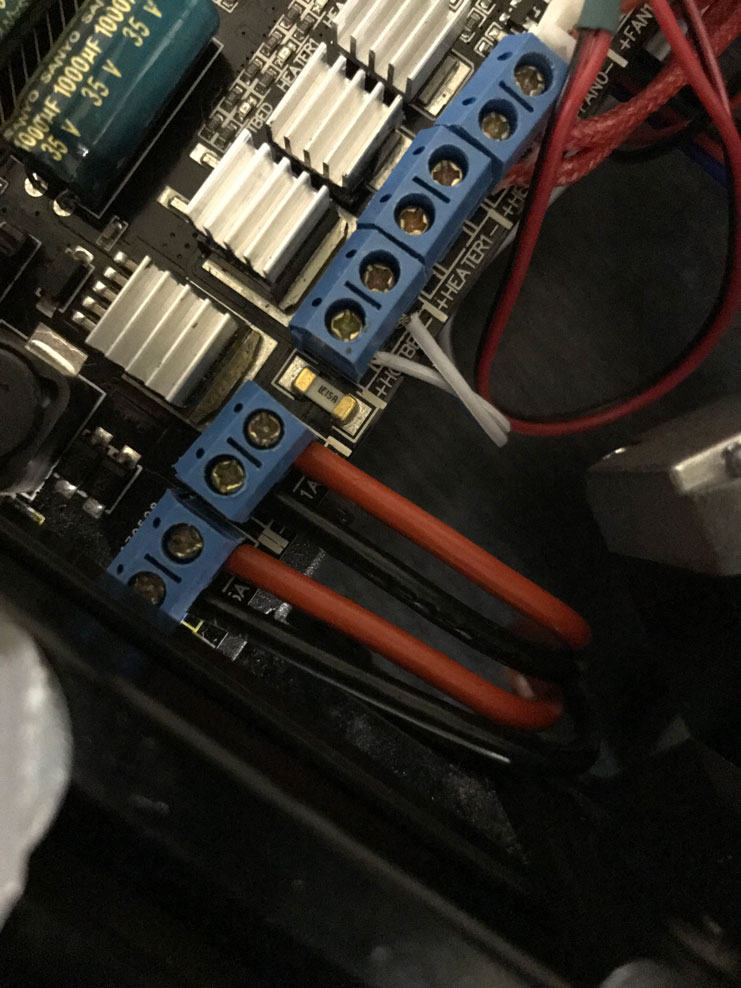
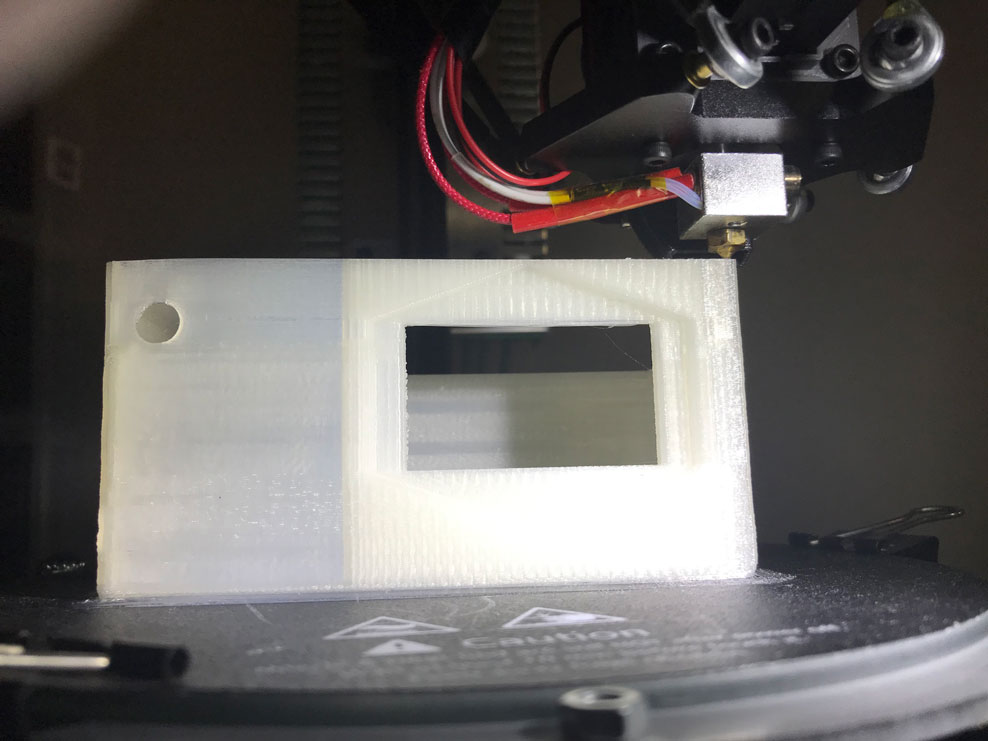


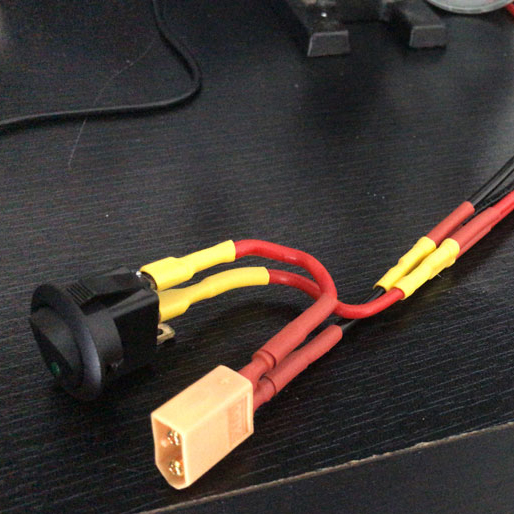
The cover printed perfectly first time round and this was a good sign that the heat bed was a good upgrade. I’ve never been able to print something this wide without warping before. Next, I turn my attention to the mainboard power which needs a switch. I’ll handle the connection with an XT-60 connector and quickly whipped up a mount in Fusion360


This upgrade was a success and now my prints are no longer warping. In addition to printing PLA more effectively, this also opens up the possibilities of printing with more challenging materials like ABS and PETG. If you enjoyed this, check out my other 3D printer upgrades.